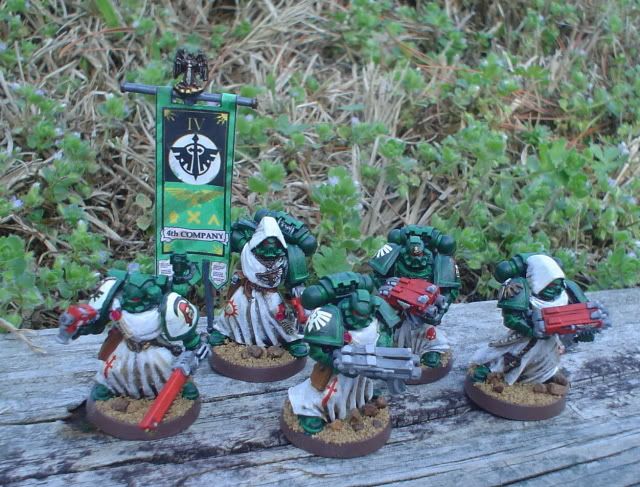
Chalk up five more Dark Angels that move from my painting desk to the shelves. I see a lot of army lists out there, but seldom do I see people fielding command squads. For me, it's too cool of an option to pass up, never having used them before, I can't say how effective they are, but I really like the idea of having them out there. In a little reverse-tutorial style, I'll go about how I got these guys from primer to tabletop quality in just a couple of nights.
The Death Dealers
Poking around in my bits box I found these pretty nifty transfers. They're from a GW sheet titled "Undead" and had these and more on it, although these were the least cheesy of the bunch. I figured this command squad would be unique and have their own logo and moniker and squad badge logo to boot.

Being the proper Dark Angels that they are, they still had to represent with their chapter icons. My vintage supply of twenty year old Rogue Trader era icons is fast dwindling, but those who had spare room on their right shoulders got one. One was the raised icon of the sword and wings, and the standard bearer had a raised skull with honor wreath. The last I think might a raised chaplain shoulder, but I added black wings from a transfer I cut in half, and put them on both sides of the apothecary's skull emblem.
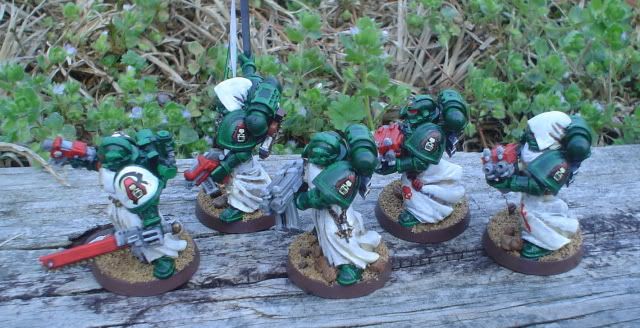
The Perfect Storm (bolter)
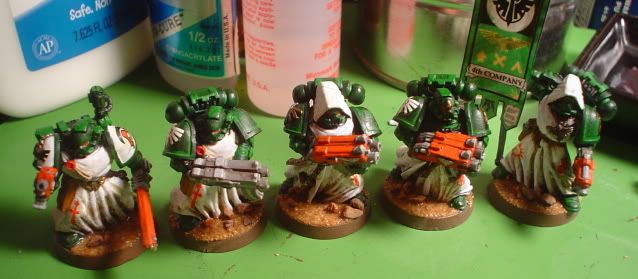
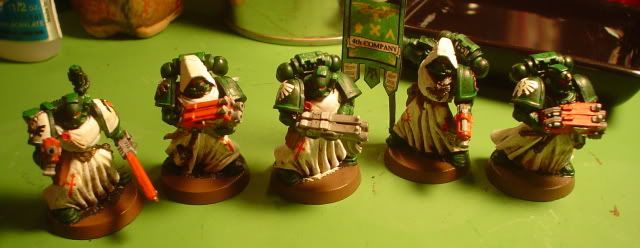
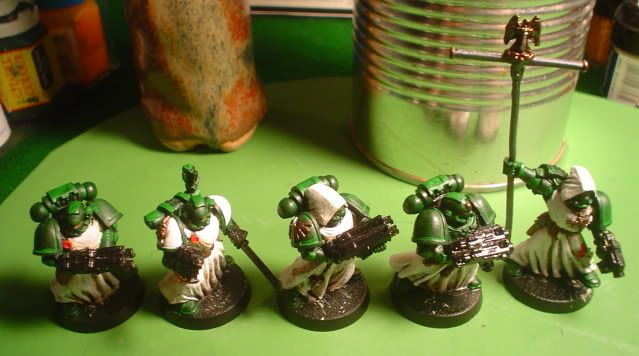
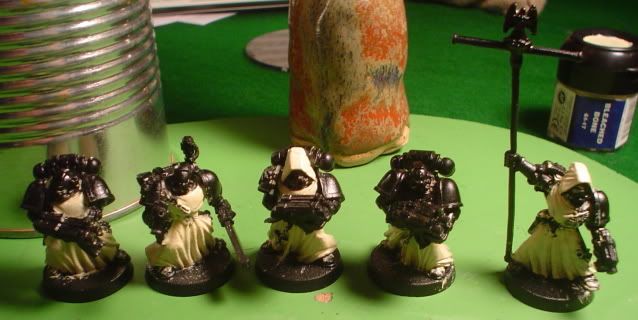
At a mere three points a pop, how can you not equip everyone you can with a Storm Bolter? Not to mention that this is, by far, the easiest conversion you can do. Take two boltguns, cut or shave off the inside smooth, then just glue them together. Voila, instant Storm Bolter. Being veterans I gave them three generations worth of Storm Bolters; the far left is the new 'modern' boltgun, in the middle is the vintage MkVI 'beaky' bolter, and on the far right is the middle aged MkVII bolter. If you can grab some of these MkVII's, I would do so, 'cause I think it makes the best looking gun of the three. The really old one is cool, just 'cause they aren't seen a lot nowadays, but it doesn't have a casing or anything, so looks kinda plain.
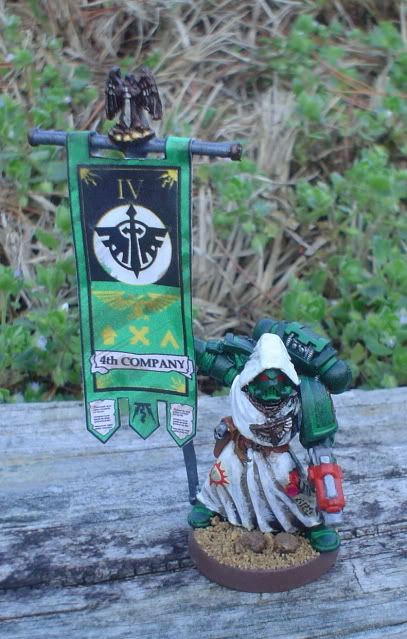
My standard bearer is the older Brother Bethor model. He's got the look of the rest of the squad, robes and hood covering power armor, but the figure shows its age slightly. Its profile is much flatter than the newer models and seems somewhat slight. Overall it is still a good fig, and sports some serious Dark Angels bling around the neck. The banner was taken from the Bell of Lost Souls site and their many awesome sheets they have for download. This was printed on plain white bond paper off of a desktop color printer. The circle in the center is left blank and I simply added a transfer to it, although I had to use a watered down white glue to keep it from peeling off the paper, which it kept doing on my test piece.
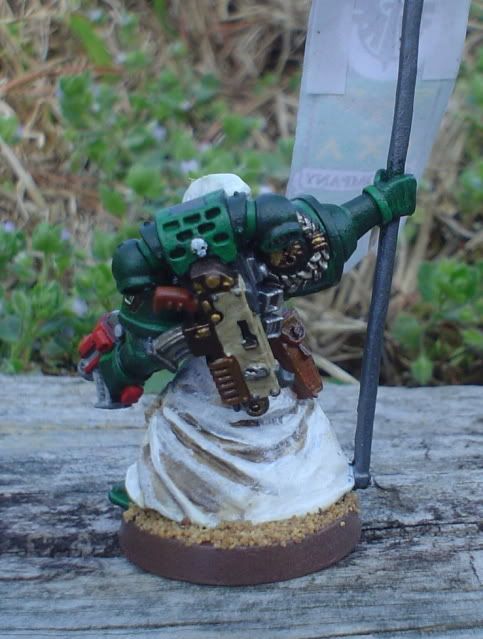
Since most everyone else had a Storm Bolter, I didn't want the standard bearer to be left out. I painted up his standard boltgun attached to his pack a tad more elaborately. I used Tin Bitz for the metal with Burnished Gold highlights, Bleached Bone for the casing, and Mithril and Blackened Steel for the magazine, skull, and front sight. The handle I did in leather (Vermin Brown with Snakebite Leather) and the foregrip I did in wood (craft paints).
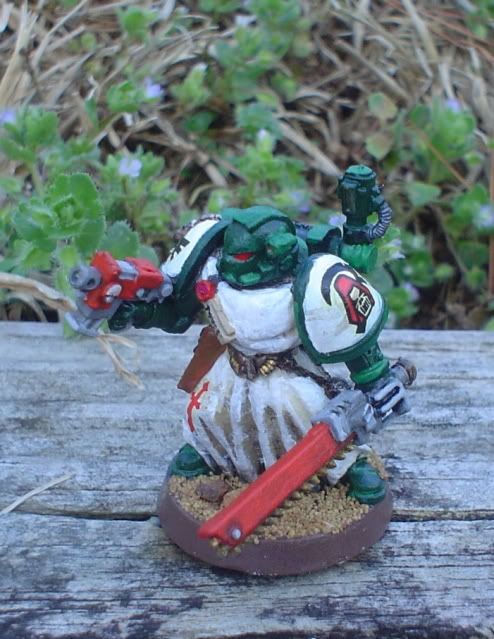
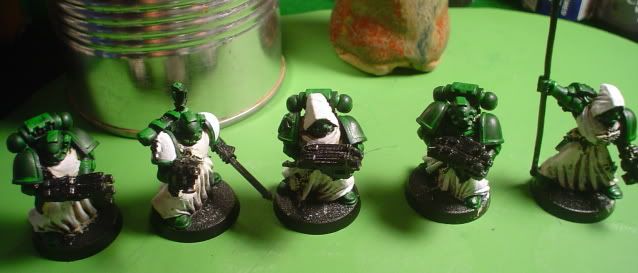
Here's my apothecary using an older metal DA veteran trooper body. I put a pair of newer marine arms on for the bolt pistol and chainsword. He may not have that funky medical gauntlet that comes standard, but he can still perform battlefield amputations. He was already wearing white robes, so I didn't want to paint his armor white too, so I just painted the shoulder pads in apothecary colors.
I went with a very old Space Wolf Scout metal backpack to serve as the apothecary pack to set him apart form the rest. I tried to find one of these online just now for reference, but had zero luck, there's been a few Space Wolf Scouts come along since then apparently.
I squeeze white glue directly onto the tops of the bases and then paint it around with an older brush. Next I dip and swish the base around in the sand tub, making sure to get some of the larger pebbles, not just sand. To give it an extra layer of durability I then use a 50/50 mix of white glue and water, put it in an empty syringe, and just apply a few drops to the top of the bases. It will soak in and when it's dry, be rock solid. You can get empty syringes at the pharmacy counter, they're the ones for administering liquid medicine to children and don't have anything to do with needles at all.
So close to finish! For my Dark Angels army I chose desert sandy bases, and just use a tub of GW's modelling sand, and painted the edges of the bases (and some of the tops) in Reaper's Dark Skin.
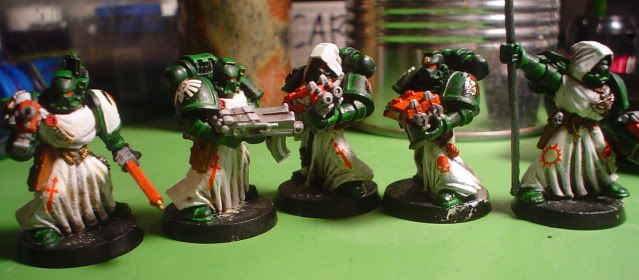
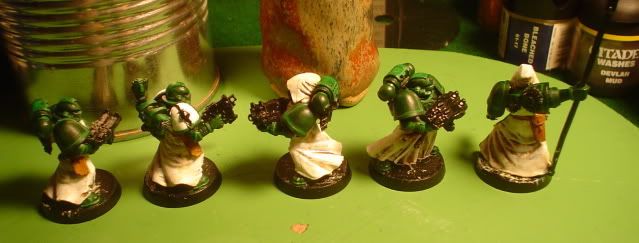
I found the $3 dollar wonder bottle that is Micro Sol with my last project and I put it to use again. It works wonders on more than just smoothing decals over round shoulder pads too, Here I used some red icons on their robes. The Micro Sol conformed them "magically" to the folds and bends of their legs, and the red contrasts nicely with the white robes and matched the weapons.
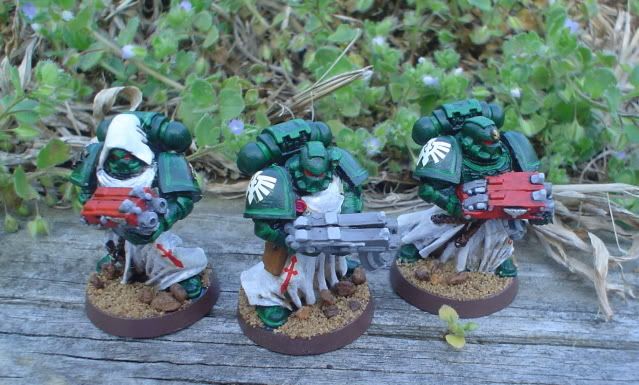
For the guns I painted the metallic areas in Codex Grey and highlighted them with Fortress Grey. Casings were painted in straight Blood Red, without highlights. The gun emblems were done in craft paint white, then given a wash in Devlan Mud.
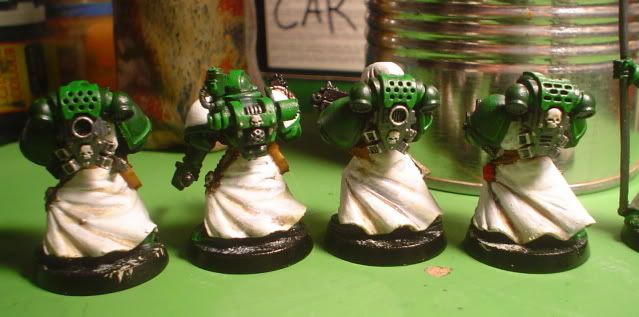
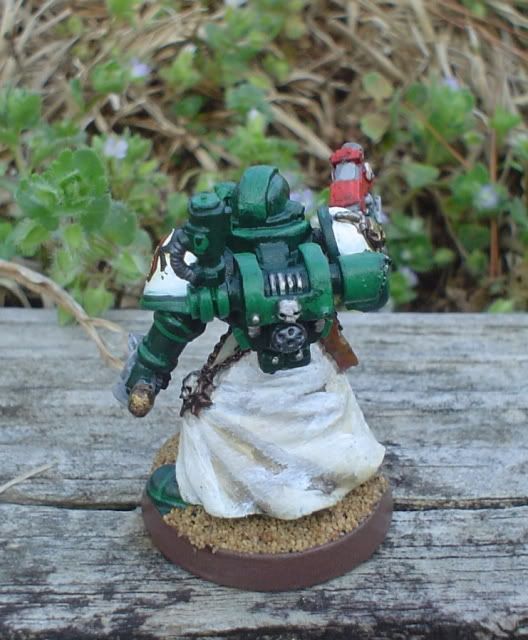
Here's some detail on the packs.
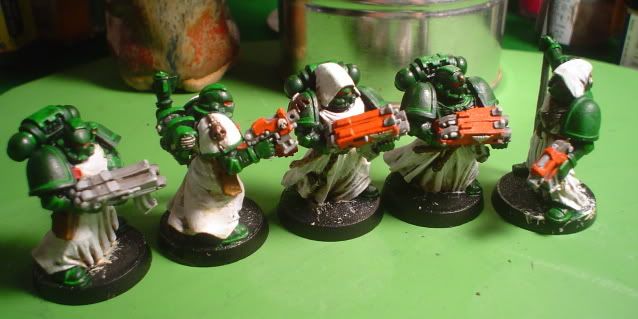
While I had the Tin Bitz out I painted other metallic areas on the figs with it; like icons and assorted doodads. I also began to paint the purity seals with Blood Red, and the scrolls that were attached with Kommando Khaki. I had to use this so they would contrast with the off white robes. The 'text' on the scrolls was done with a fine line, waterproof drafting pen you can get pretty much anywhere.
Pouches and holster were painted with Vermin Brown first, highlighted with Snakebite Leather, and wash with Devlan Mud. Buckles and buttons were painted in Tin Bitz.
I used Snot Green to 'fine line' the armor and highlight certain areas to make them stand out. I used a Thraka Green Wash to blend the two greens together to better blend them.

All armor areas were painted unceremoniously in Dark Angels Green.
Recessed areas of the robes received a heavy wash of Devlan Mud.
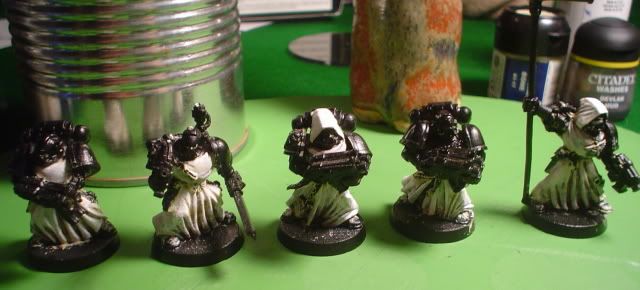
The models were assembled with regular super glue and primered with a generic black spray paint. Next I did a very heavy and sloppy coat of Bleached Bone over all the cloth areas.
fapfpafpafpapfapfapfpafpafpfpa
ReplyDeleteThose my friend are stunning.
I love them.
Your lucky to have such a variety of spare parts :D
I'm impressed with the old icongraphy.
Wow.
Thanks a lot, at arm's length they're not too shabby! Being a pack rat over the years has really paid off in the spare parts department. I'll try to get them on the tabletop this month and post some pics of them in action.
ReplyDeleteAwesome work mate! I've been looking back at your DA and I love them. Like Farske, I really like all the older touches.
ReplyDeleteI'm looking forward to more.
Wow, after having seen your own stuff, that's quite the compliment. Thanks!
ReplyDeleteI should have some Vanguard coming online kinda soon...