
Five quick and easy objective markers
It's no secret I've been in a painting slump lately, so to get the juices flowing again I went cranked out some objective markers. These were easy and painted up quick.
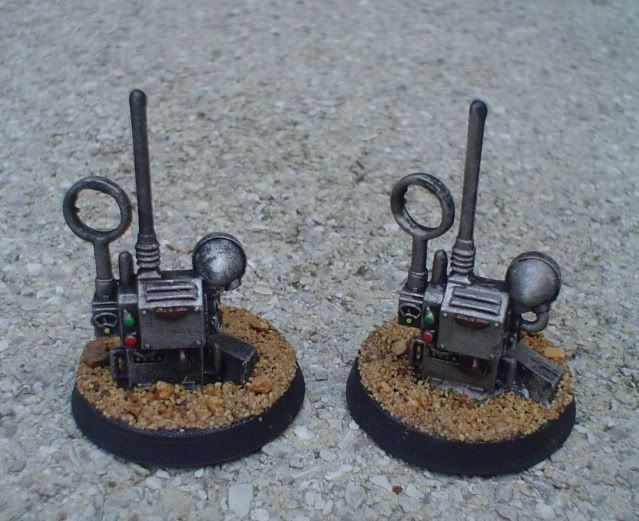
These two both consisted of the comm-backpacks from the Cadian plastics sprue. I did nothing fancy here, just clipped them off and glued them to bases. To help beef up the presence on the base, I also added small chunks of cut off sprue bits.
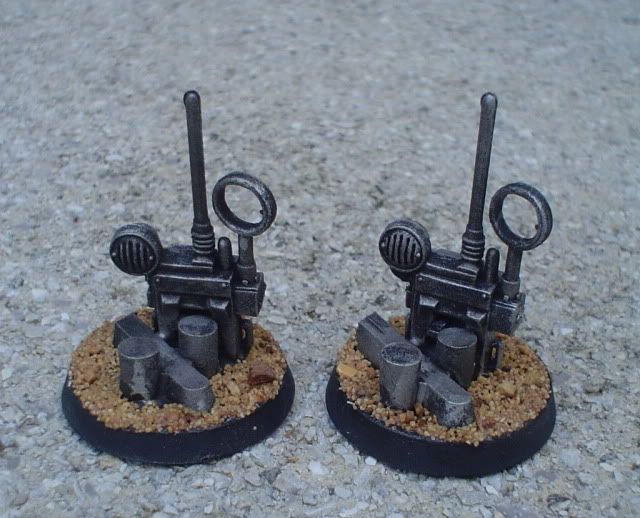
Painting was simple; I undercoated them in black and dry brushed them in Mithril. After a heavy wash of Badab Black, I went back with some colors and picked out a couple of buttons, lights, etc. You can these better on the above higher up pic.
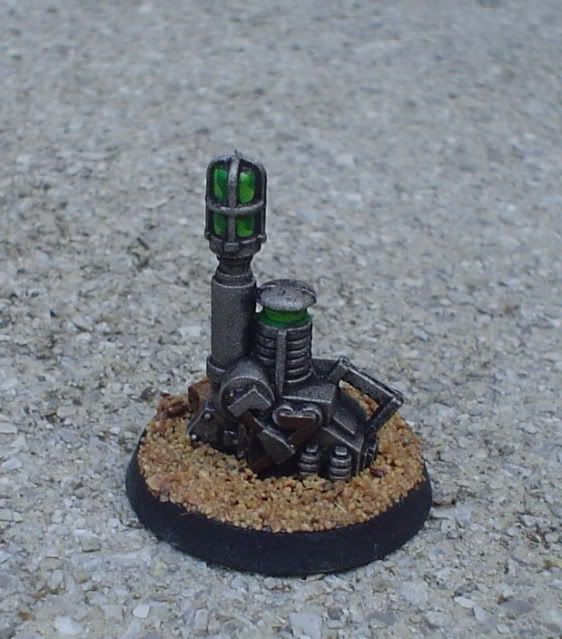
This is the teleport homer that came with the plastic Terminators box. You can probably pick up one or two of these on the cheap from a bits place. I like this piece a lot, and it just looks plain cool. I painted it as I did the comm-packs, and went in with a some Goblin Green, highlighted by Slime Green to act as the lighting. After sealing everything, I went back in with a high gloss and brushed over just the green parts.
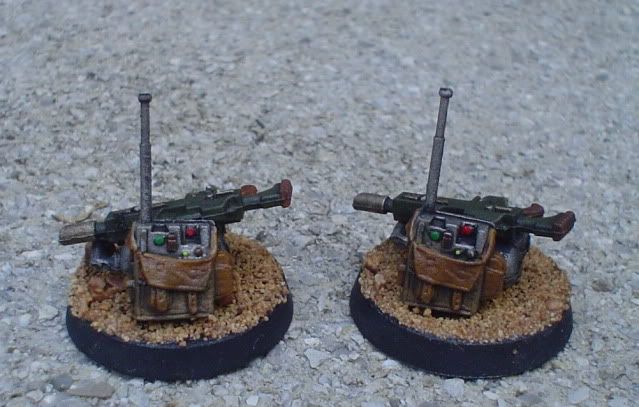
Going back to the Imperial Guard sprues, I whipped up this pair. They consist of the comm-packs from the Catachan sprue this time, with the fuel tanks from the Cadian flamers, and Cadian lasguns resting on top. The leather satchels covering the radios looks pretty good (I think) but was easy to do. I painted them overall with a craft paint tan, went in with Snakebite Leather, then washed it all in Devlan Mud. The radios and fuel tanks got the same paintjob as everything else, with buttons and dials picked out in a few bright colors.

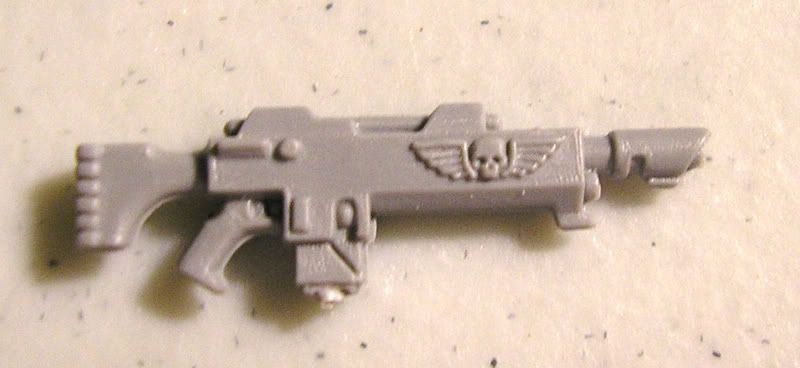
I elaborated a little bit on the rifles themselves. They're cased in a Camo Green followed up with a Thraka Green wash. The barrels, energy packs, and trigger guards are in a craft paint called Titanium Gold, as are a few of the "doo dads". The butt plates and pistol grips were painted in Vermin Brown, with a wash of Devlan Mud for good measure. Imperial symbols were painted in Burnished Gold with Skull White skulls.
All five bases were given a coat of white glue directly to the top surface. After brushing it around, I dipped them all in a tub of GW's Modelling Sand. After that first layer of basing, I added a little watered down white glue to 'cement' it. I let the last coat of watered down white glue dry over night, then sealed them with a layer of clear coat.
Very nice and simple, too. I've been contemplating some themed objective markers for my Daemonhunters army. Getting tired of using empty 40mm bases or random figs!
ReplyDeleteSolid
ReplyDeleteNice to see ya painting again =) You really did a nice job on the green lighting!
ReplyDelete@Shelexie: Baby steps, baby steps, I don't know why I've been in a painting funk the last couple of months, but it's a start, right?
ReplyDelete@Jon and Oz: Thanks! Themed objectives are cool, especially when they match your army. I may have too many objective markers, but I find they work well just sticking them on the tabletop as nothing more than "flavor text."