Phase Two: Operation Rojo
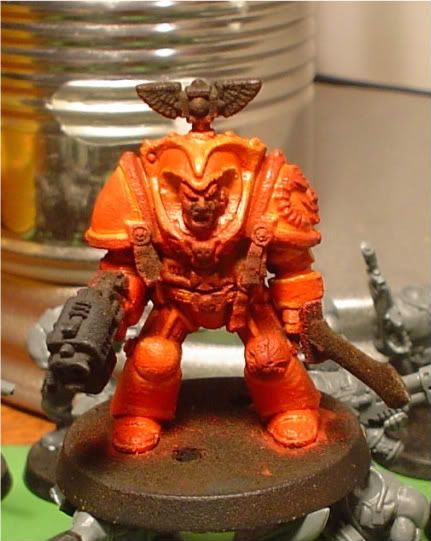
I think phase two is complete! I really took my time, moreso than usual, on applying all the reds to the big guy. My primer kinda got 'chalky', but I moved forward with it, if anything it makes areas of the ceramite plate look old and pitted. I'm hoping it won't even be noticeable by the time all of the dust clears. The pics aren't the greatest, lighting and what-not weren't conducive to photographs, but you can get a pretty good idea so far.
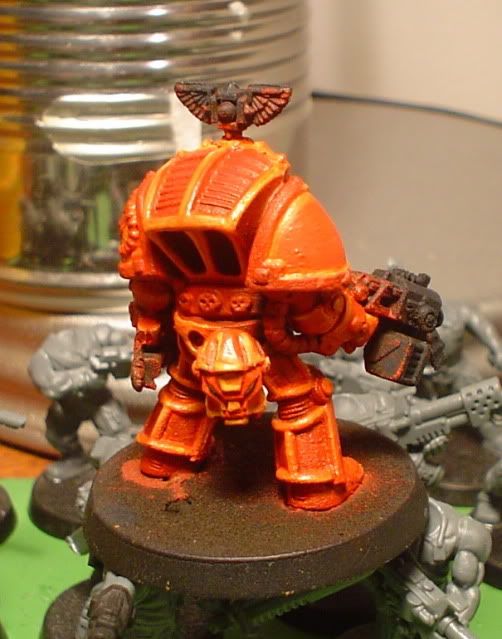
Tonight I'll probably work on the doo-dads and what-not on his armor. I think I counted seven or eight skulls alone. I'll save weapons for last since I'm still using them to move the model around. I like the helmet quite a bit, and I managed a neat two color green highlight number on the lenses with a green glaze, sounds kinda fancy, huh? I'm going to paint the 'rims' of his pauldrons in black, and I may paint his storm bolter casing in black as well. I'm pretty hesitant about the power sword, but I'll cross that bridge later.

Operation Rojo consisted of a lot of colors and even more patience. I'm thinning my paints down a tad as well to get even coverage and easier blending. Below I'll detail what all I used and how exactly I used them in nine steps. The above pic is in order.
1. Primed the model flat black
2. Overbrushed 'apple spice' over entire model
3. Drybrushed 'fire engine red' over entire model
4. Painted on 'blood red' on flat areas and surfaces
5. Highlighted same areas with 'ruby red'
6. Line detailed all edges with 'pumpkin'
7. Highlighted lines with 'ripe apricot'
8. Fine line the same highlights with 'golden yellow'
9. Used 'red wash' over steps # 6-8
It looks like a lot, and after typing it all, it seems like a lot too. Thing is, it surprisingly didn't take that much longer than what I would normally do. Not only that, but with just a little more effort on my part, the results (so far) look a lot better than just "a little more" than my normal paint jobs. I'll post some more WIP pics this weekend!
Seeing all those highlights and blending makes me feel like a slug for using just one highlight.
ReplyDeleteThanks, coming from you that's quite a compliment! This is a one-time deal though, I'm not so detail oriented with my regular tabletop stuff. This little fig has kind of inspired me to do just a little extra in the future on my other models...
ReplyDeleteI am really digging the highlights and especially the helmet. I hope the pits in the armor get incorporated into the final paint scheme. With the lighting, they show, so why not highlight them. Again, keep up the great painting!
ReplyDeleteThanks Shelexie, I would like to make the best of the pits. Any ideas?
ReplyDeleteI keep thinking battle damage, though I'm not sure how to get the effect. Maybe some of the metal showing, like one would do on a tank. Still, I don't know how this would look on a small mini. Keep up the good work!
ReplyDeleteI know what you mean, I'll play around with it and see what I can do. Thanks...
ReplyDelete