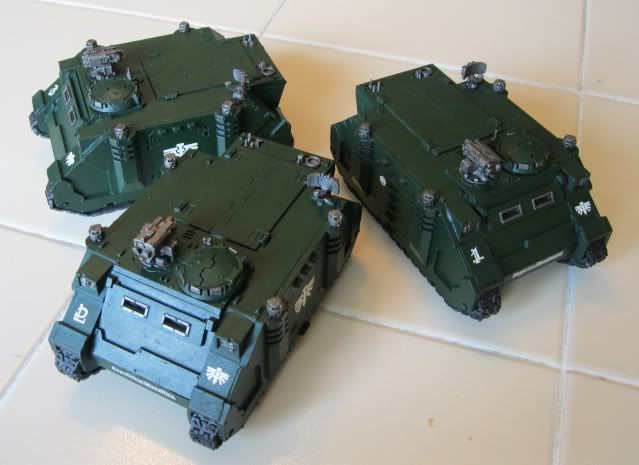
My rhino squadron is done, and the first of the mega-projects list is complete! These came together fast and painted up even faster, mind you as the title suggests, they are your base models. There's zero magnets, interiors, battle damage, or anything else.
I may have skimped on the extras but I still strove for solid, clean models that would look good on the tabletop. The effort in the details department centered around the decals themselves. I kept them simple, but (hopefully) effective.
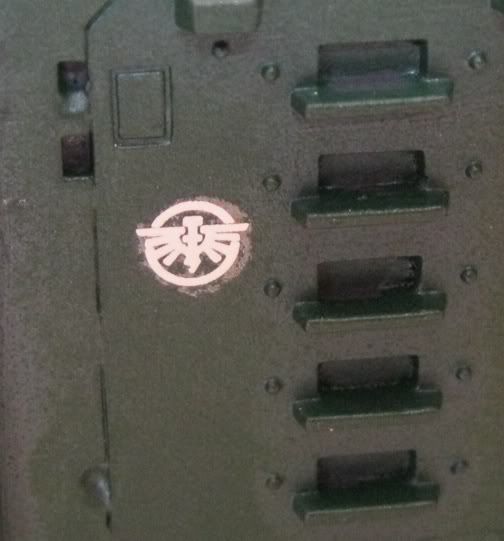
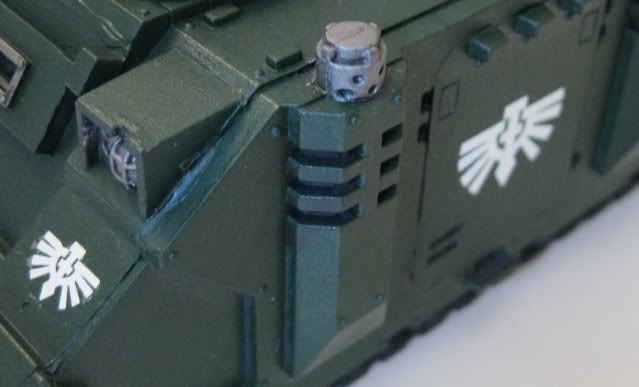
You can see two things here. First is that I took the photos *before* I went back in with the magical solution that is Micro-Sol. I'll go back in and 'paint' this over the decals and it will eliminate the look where it's obviously a decal and 'blend' them into the paint. The second thing is that I went back to my venerable, bits-deep, Rogue Trader era Dark Angels decals. These came out in 1987, so once they're gone...they're really gone. I love the look though, that bold, blocky sword and wings icon looks cool.
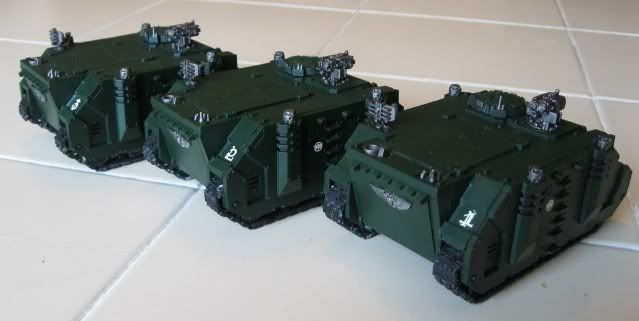
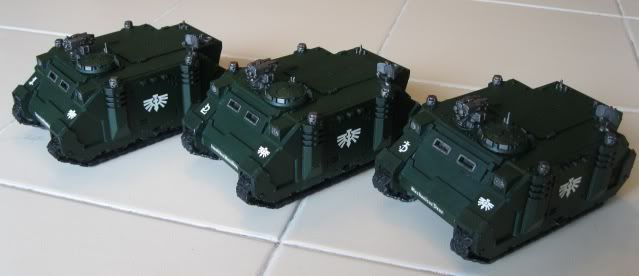
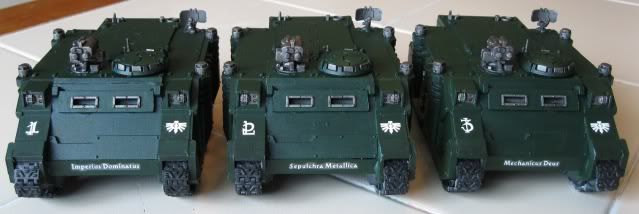
Each rhino is numbered to correspond with the tactical squad that will be riding in it. I put these numbers also on the back, you know during a battle you don't want to run up the ramp to the wrong APC. These numbers also match the numbers on the squads themselves. Speaking of squads, I wanted to get some pics of the troops with their new rides, but I was pressed for time when I took these (and downstairs is a mess right now).
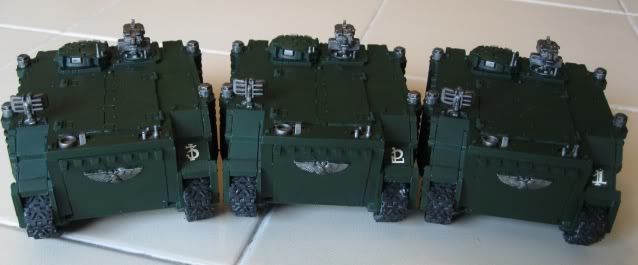
Parting shot...
For those interested in doing your own "no-frills" rhinos, here you go:
- Assembled with no interiors
- Glued all hatches shut
- Kept equipment to a minimum
- Left tracks on sprue
- No drivers, gunners, etc.
- Primered flat black
- Heavy drybrush Dark Angels Green over body with large brush
- Heavy drybrush Boltgun metal over instruments and weapons
- Heavy Badab Black wash over metallic areas
- Cover up splotches and tidy up with DA Green and fine brush
- Apply decals, keep to minimum
- Primer tracks black while still on sprue
- Clip tracks and glue to bodies
- Seal with clear coat
I think they look fantastic and for simple transports they will suit very well. I will go through all my transfers and find you any Dark Angels sheets I have - I never throw away decals so hopefully I can find you some goodies!
ReplyDeleteI will be posting about Tracto this week too! Hopefully tonight.
Hey, thanks for the bonus transfers. I have some of the more modern ones, but these ancient ones are disappearing fast!
ReplyDeleteI'm very happy with how the Rhinos turned out, they scream "tabletop quality", but they look good, very solid. I could've done the tracks a wee bit better, but live and learn.
I need to get Tracto based and some fluff written, he looks awesome! Thanks again!
Simple, and will be a nice looking addition to the tabletop. And its painted ! so its one step above the average 40K table. Although I know your group doesn't have that problem ...
ReplyDeleteThanks Joe, even though we don't even play 40k they'll plod along well somewhere, somehow!
ReplyDelete