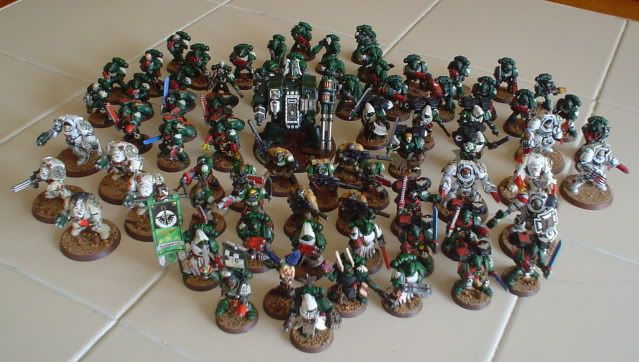
I recently picked up some more Dark Angels in a trade with my friend Chrispy. He was going to start up a DA chapter, but all of that dark green kind of turned him off. It worked out for both of us since I got his leftovers and he got some cool stuff in return.
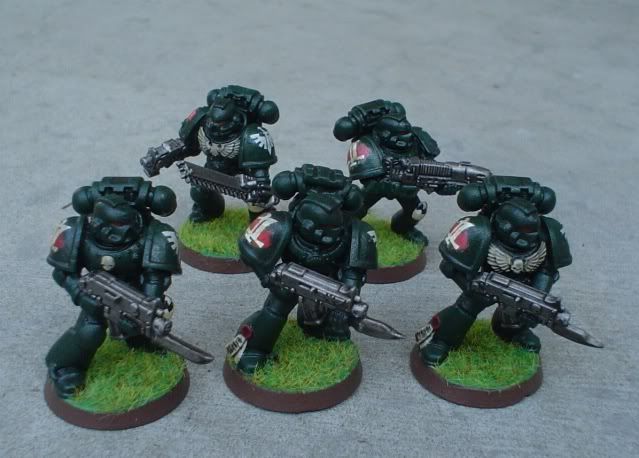
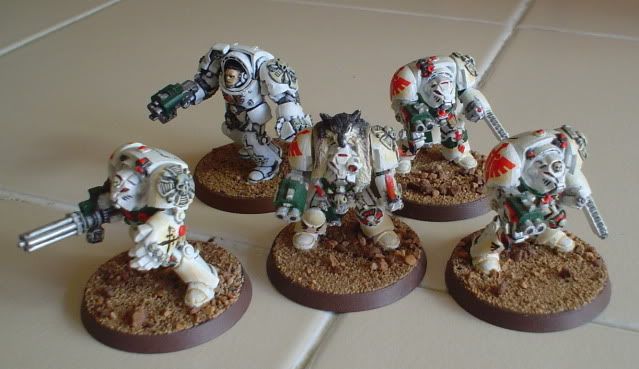
The good news is that these guys were already painted. The even better news is that these guys were already painted well, something you don't always get in a trade. It some very minor refurbishing to tweak these troopers and get them in line with the rest of my Dark Angels army. Another thing I really liked about these troopers were their bayonets.
They already had their chapter icon decals on their left shoulder pads, so all I had to do was add a tactical symbol and squad number on the right shoulder pads. This is always tricky to do since you're layering two waterslide transfers on top of one another. I only screwed up one, and was too lazy to fix it. I used Microsol as usual, and everything smoothed out just fine. After the decals were properly set, I streaked them with a little Devlan Mud wash.
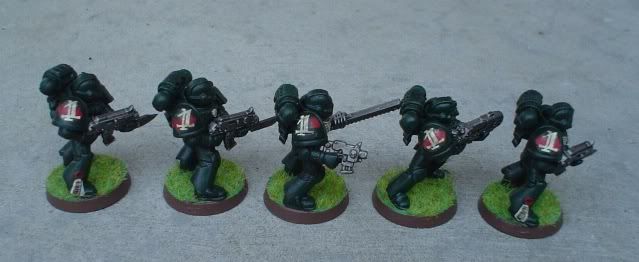
Their bases were green with flock/static grass on them. I didn't want to scrape off all the grass to stick my usual dirt scheme on the bases, but I did paint over the outer edged ring of the base so at least that would match the rest of the army itself.
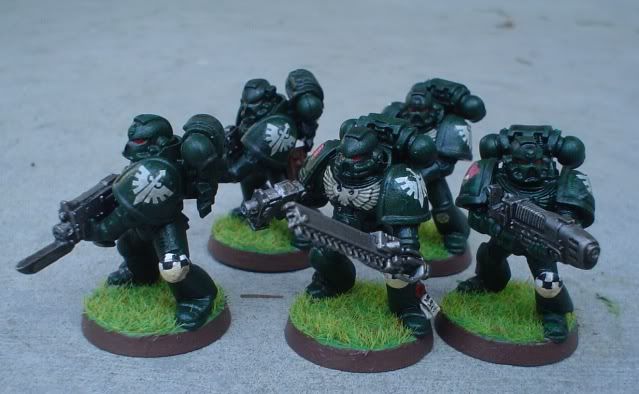
Lastly, since these boyos were now inducted into my army, they needed 4th company markings. The 4th company has one of the most annoying badges out of all the Dark Angels chapter, a lower half circle of bone white, an upper half circle of pure white, then a black and white checker pattern on the top half of the circle. For the figs that had the full leg greaves without knee pads, I just applied a skull icon decal. After drilling the bolter barrels, I was done!
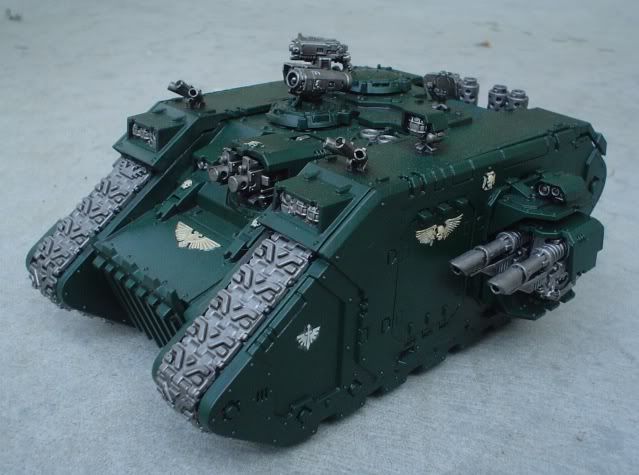
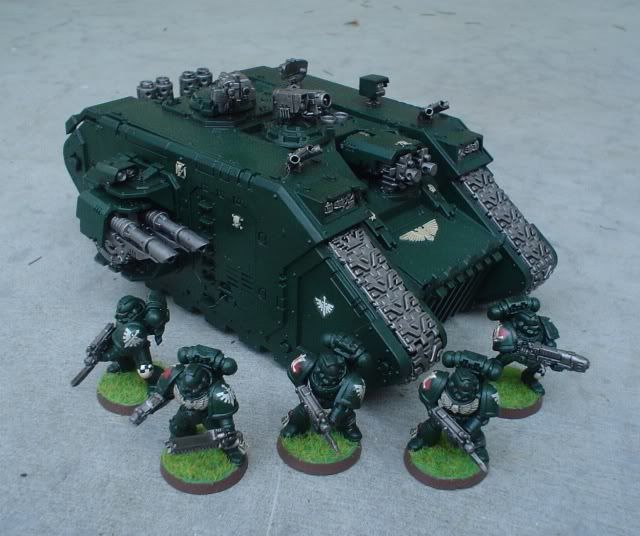
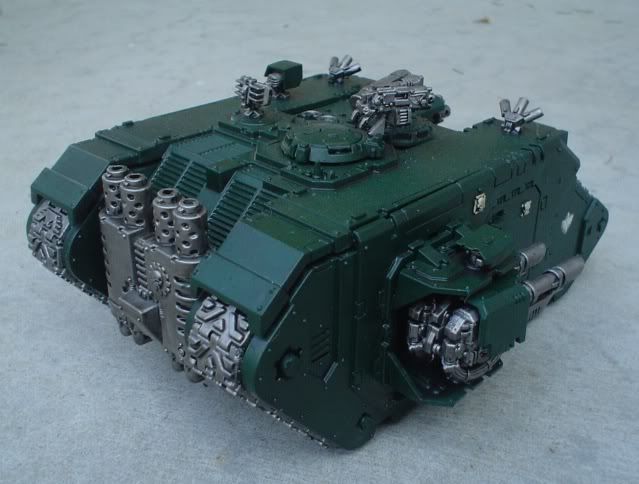
Also in the trade was the well painted Land Raider
Great trade man!
ReplyDeleteGood trade.
ReplyDeleteCurious that you also have a buddy who goes by Chrispy. Our Chrispy plays 'Nids though :)
Good trade indeed .... Are you gonna weather the Land Raider ?
ReplyDelete@Y'uns: I guess I should mention what I traded, huh? Basically it was an assembled Eldar battleforce box, and an assembled/partially painted WHFB Fortified Manor. I also got a bunch of pulp figures in the trade, but those wil debut tomorrow.
ReplyDeleteWeathering? I dunno, it looks so pretty and off-the-showroom floor shiny! Oh, and JMezz, stay tuned, I think I might be tackling a project you'll like pretty soon.
Shelexie, are you all moved in now?
@Eli: Yeah, somehow we managed to get three Chris' in our tight-knit gaming group. The first Chris (T-Bone) goes by "Oz", since that's part of his last name, the second Chris (Flounder) goes by "Chrispy", since his last name starts with 'P', and lastly, the tertiary Chris goes by "Chri3", because it's hip to use numbers in place of letters!
Lookin' great Mik!
ReplyDeleteNice deal for some nice figs. To help with the levels of decals, after one has dried, put a nice thin layer of hardcoat between them. I in fact usually put a layer of hardcoat down, put the decal down, then hard coat it again. Helps make the edges invisible and the decal almost looks painted on.
ReplyDeleteThanks Tristan, and thanks for the tip HuronBH, I'll have to try that next time. I think I just wasn't patient enough either and was trying to layer while the first decal was still wet.
ReplyDelete